Whether you’re making room for a new office chair or undertaking a repair project, a crucial first step is knowing how to disassemble your workplace chair base. A typical office chair base consists of several components which must be removed and reassembled in order to successfully repair the armchair. In this article, we will provide detailed instructions on how to properly disassemble a workplace armchair base so that repairs can be made with ease.
1. Safety Instructions

It’s important to take safety precautions in order to avoid injury. Here are some safety instructions to follow when disassembling an remove Star Base From office chair base:
Before you begin the process, put on protective gloves and eyewear. This will help protect your hands and eyes from any debris that may come as a result of the disassembly. Make sure the area you’re working in is well-lit, so both visibility and precision are optimal. Also be aware of any sharp edges on the parts you’re handling. Use a cushioning cloth or thick rag if necessary to prevent cuts or scrapes. Finally, make sure all screws have been completely removed before attempting to separate any pieces of the armchair base.
2. Tools Needed

The first thing you’ll need is an adjustable wrench or socket wrench set. This will allow you to unscrew any nuts and bolts from the base of your chair. The second item needed is a screwdriver that is compatible with all screws used on the armchair – Phillips head. Flathead and hex key are just a few types that might be necessary. For specific instructions on how to use each tool safely, consult the manual provided by your manufacturer.
3. Disconnect the chair headrest
The first step in disconnecting an office chair headrest is to identify the locking mechanism that connects it to the base of the armchair. This should be a metal rod, usually located at either side of the top part of the backrest. Next, depress both ends of this rod simultaneously and pull up firmly on either end until you hear a clicking sound – indicating that it has been unlocked from its connection points in the base. Then remove your hands from each end and lift up on one side until you can take out the headrest completely. Be careful not to force anything as this may damage or break parts.
4. Remove the chair backrest
By disassembling the base of the armchair, it is possible to remove the backrest and modify or repair it as needed. Whether replacing a damaged part or just giving it a new look, taking apart a workplace chair foundation does not require any special tools.
First, you will want to turn over your office armchair and locate the screws that hold together the components of the base. Most chairs have two sets of screws. One set on either side underneath where each armrest meets with its respective side of the seat section. Once these are removed, you should be able to lift off both sides of the seat section and separate them from each other with minimal effort.
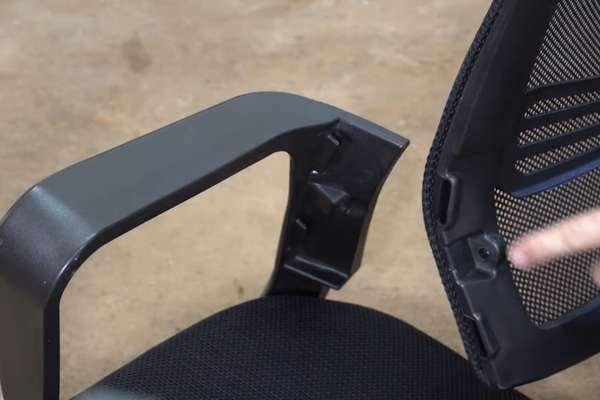
5. Disconnect Armrests
First, you should turn the chair upside down so that you can access the screws beneath the armrests. Once these screws have been removed, you will then be able to lift up and pull away the armrests from their hinges. In some cases, additional screws or bolts may be needed depending on your particular model of office chair foundation. Be sure to take note of which screw goes into which hole as you remove them in order to ensure proper reassembly later on.
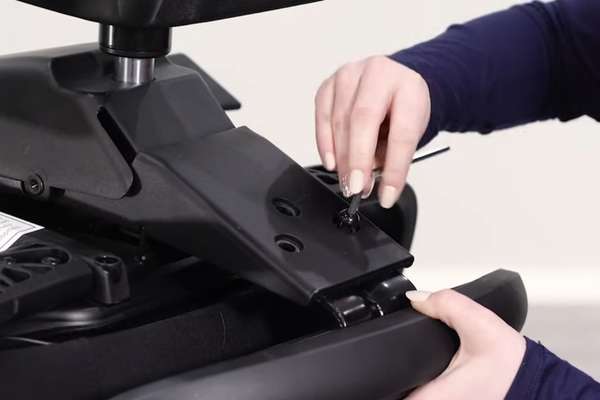
6. Detach Base Plate
First, make sure that the chair is not connected to any other components and that. Tt’s on a flat surface with no obstructions around it. Next, locate the screws connecting the base plate to the rest of the armchair structure and use a screwdriver or wrench to remove them. Make sure all screws are removed as this will help avoid damage when removing other parts of the office armchair later on. After all screws are taken out, carefully lift up and remove the entire foundation plate from your armchair. With this task complete you can now move onto further steps in disassembling your workplace chair correctly and safely!
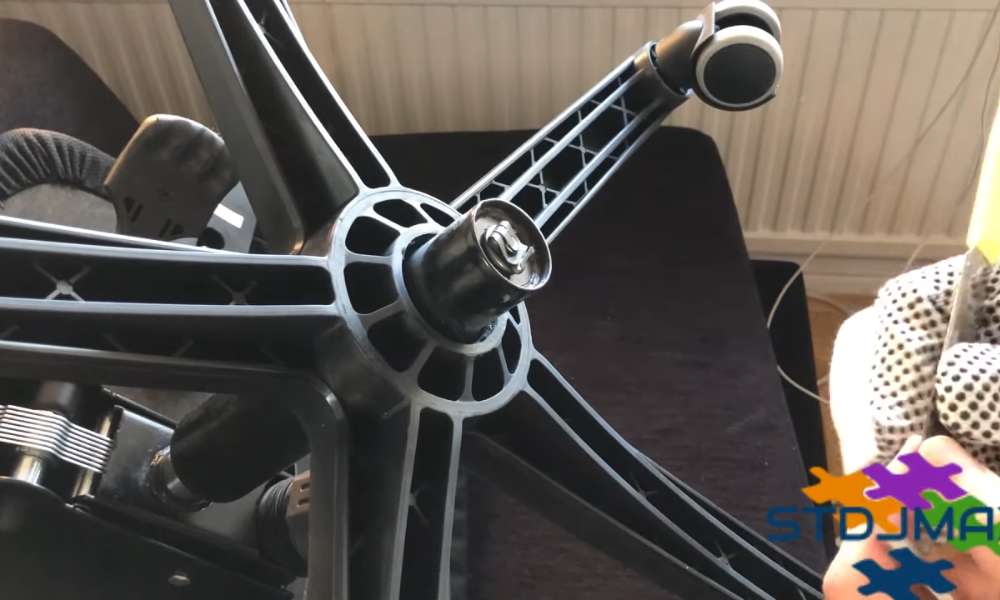
7. Removing chair casters

The first step in removing the casters is to flip the office armchair upside down and examine the bottom of the base. Look for any screws or bolts that may be holding on the casters. Once these are located, they should be removed with a screwdriver or wrench depending on their type. After all screws are out, carefully remove each caster from its mount by gently pulling outward with both hands. Be sure not to damage any of the components as this could lead to more extensive repair work later on down the line.
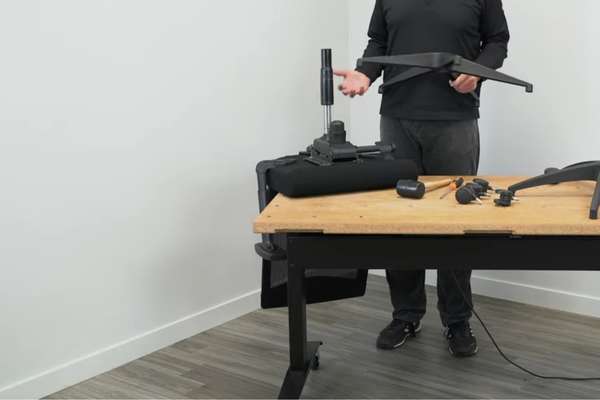
Conclusion
Disassembling an office armchair base is relatively easy. First, it is important to gather the necessary tools, such as a screwdriver and pliers. Then, remove the screws and fabric coverings carefully. After that, detach the arms and back of the
from the base. Finally, detach any remaining parts from the foundation in order to access all of its components. Through this process, you can fully disassemble your workplace chair foundation for cleaning or replacement purposes.