Creating a custom chair is a rewarding project that allows you to express your creativity while adding a functional piece to your home or office. If you’ve ever wondered how to make a chair, you’re in the right place. Whether you’re a seasoned DIY enthusiast or just starting out, building your own chair can be surprisingly simple with the right materials and techniques. In this guide, we’ll walk you through step-by-step instructions, tips, and expert insights to help you craft a chair that not only looks great but is sturdy and comfortable. Let’s dive into the process of how to make a Kadar and discover the satisfaction of creating something uniquely yours!
Understanding Chair Basics
Before diving into the construction procedure, it’s critical to familiarize yourself with the fundamental components of a chair. A Kedar usually includes a seat, backrest, armrests (non-compulsory), and legs. Each element serves a particular cause to ensure consolation, stability, and aesthetic attraction. The materials you select and the layout you comply with will have an effect on Kedar’s standard functionality and appearance. It’s additionally important to recollect the Kedar’s intended use—whether or not it’s for an eating room, workplace, or outside putting—as this can manual your fabric and design selections.
Choosing The Right Materials For Your Chair
The material you choose will affect both the durability and look of your chair. Wood is a popular choice due to its versatility and strength. Hardwood, such as oak, maple, or walnut, is ideal for sturdy furniture that can withstand everyday use. For a lighter, more contemporary look, you may opt for softwood like pine. If you’re aiming for a more modern, minimalist design, metals or acrylic could be appealing alternatives. Upholstery materials, like fabric or leather, will also play a significant role if you’re creating a cushioned seat. Be sure to select materials that complement each other and match the intended style of your Kedar.
Tools You’ll Need To Make A Chair
To build a chair, a variety of tools will be necessary. Most importantly, you’ll need a saw to cut your wood, a drill to make holes for screws, sandpaper, or an electric sander to smooth out rough edges. A tape measure, square, and level will ensure that everything is cut and aligned properly. Wood glue, screws, and nails are essential for holding the pieces together. If you’re adding upholstery, you’ll need a staple gun and fabric of your choice. Depending on your design, you may also require additional tools, such as a jigsaw or wood clamps.
Planning Your Chair Design
The key to building a successful chair is in the planning. Start by means of sketching out your design, and thinking about the scale of the seat, backrest, and legs. Pay attention to ergonomics to ensure that the Kedar will be comfortable to sit in. If you’re new to woodworking, it’s advisable to start with a simple design, such as a basic four-legged Kedar with a flat seat. For people with more enjoyment, problematic designs with curved backs or ornamental factors can upload a completely unique contact. Take time to visualize the end product and break the project down into manageable steps.
Step 1: Cutting The Wood For Your Chair
Once you have your design ready, the first step is to cut the wood to size. Begin by measuring the dimensions of each piece, including the legs, seat frame, and backrest. Use a saw to cut the wood accurately, ensuring that each piece is straight and even. Double-check your measurements before cutting to avoid mistakes. If you’re using thicker wood, it may be helpful to use a circular saw for more precise cuts. Take your time and cut slowly to avoid splintering.
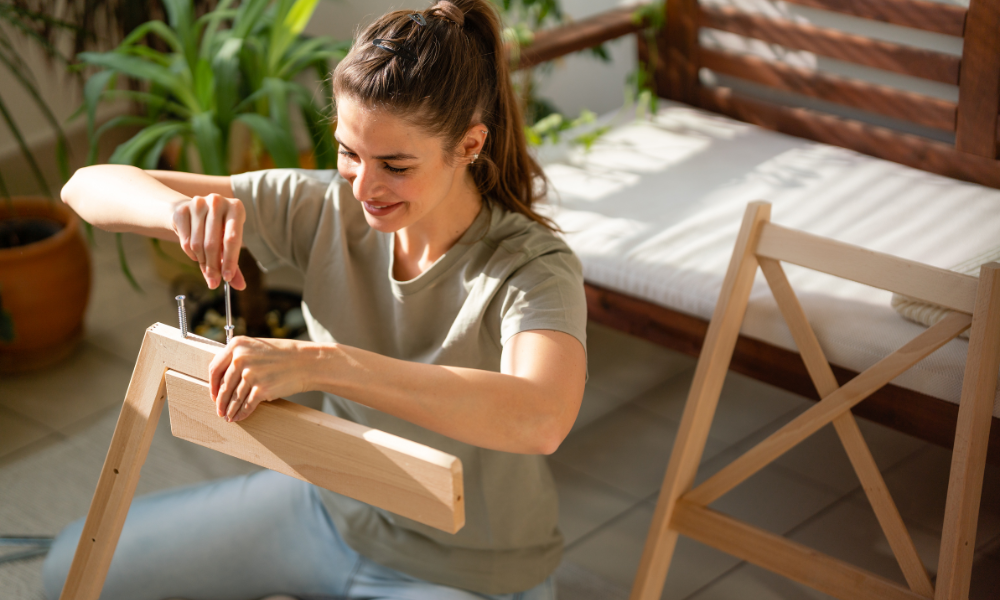
Step 2: Assembling The Chair Frame
The next step is to assemble the frame. Start by connecting the legs to the seat frame. This will form the basic structure of your chair. If your design includes additional supports or cross-bracing for stability, attach those at this stage as well. Use wood glue in conjunction with screws to ensure a strong bond between the parts. Make sure the frame is square and level to avoid any wobbling once the Kedar is fully assembled.
Step 3: Attaching The Seat To The Frame
After the frame is assembled, the next step is to attach the seat. If your chair design includes a separate seat piece, position it over the frame and secure it with screws or nails. For additional comfort, you can add a layer of foam or padding before attaching the upholstery fabric. Ensure the seat is firmly attached and centered, as this is the area where most of the weight will be placed.
Step 4: Create And Attach The Backrest
The backrest is essential for support and comfort. Depending on your design, the backrest can be a solid piece or made up of multiple slats. Cut the backrest pieces to size and attach them to the top of the frame using screws or dowels. If your design includes curved elements, use a jigsaw to create the desired shape. Make sure the backrest is positioned at an ergonomic angle, so it provides adequate lumbar support.
Step 5: Adding Armrests For Extra Comfort
If you’re adding armrests, this step will enhance the chair’s comfort and functionality. Measure and cut the armrests to fit the design, ensuring they are at a comfortable height for resting your arms. Attach them securely to the sides of the Kedar frame, making sure they are level and symmetrical. Armrests can be either attached directly to the seat frame or to the backrest for added support.
Step 6: Sanding And Smoothing Your Chair
Once the basic structure of the chair is in place, it’s time to refine the edges and surfaces. Sanding is an essential step to ensure that all the rough areas are smoothed out. Use progressively finer grits of sandpaper, starting with a coarse grit and finishing with a fine one. This process will eliminate any splinters, making the Kedar feel comfortable to sit on and visually polished. Pay special attention to the corners and joints, where roughness can be more noticeable.
Step 7: Staining And Finishing Your Chair
Staining your chair not only enhances the wood’s natural beauty but also protects it from wear and tear. Choose a stain color that complements the room’s decor and the type of wood you’ve used. Apply the stain evenly with a brush or cloth, and allow it to dry fully before adding a protective finish. A polyurethane finish will seal the surface and prevent scratches and moisture damage. Be sure to follow the manufacturer’s instructions for drying times and application techniques.
Step 8: Adding The Final Touches
The final step involves adding any decorative or functional touches to complete your Kedar. If you’re upholstering the seat, now is the time to stretch the fabric over the padding and staple it securely to the underside of the seat. You can also add decorative trim, such as a nailhead or piping, to elevate the chair’s appearance. Finally, ensure that all screws are tightened and that the Kedar feels stable before using it.
Troubleshooting Common Mistakes And How To Avoid Them
Throughout the chair-building process, there are several common mistakes that you may encounter. One frequent issue is a misalignment of the legs, which can cause the Kedar to wobble. To avoid this, always measure carefully and check for levelness before attaching parts. Another mistake is using the wrong type of wood for the project, which can result in a Kedar that is either too weak or too heavy. Stick to the materials recommended for furniture-making to ensure longevity and stability.
Upcycling And Repurposing Old Materials To Make A Chair
Repurposing old furniture or materials can be a great way to create a unique Kedar while saving money. You might salvage wood from old tables, Kedars, or pallets, which can be sanded down and reworked into your new design. Be sure to inspect these materials for damage or weakness before beginning the project. Upcycling not only contributes to sustainability but also gives your Kedar a distinctive character and history.
Safety Tips For Building A Chair
Safety should always be your top priority when working with tools. Wear protective eyewear and gloves to prevent injury from sawdust, splinters, or sharp tools. Ensure that your workspace is well-lit and free from clutter. Always read the instructions for your tools and follow them carefully. Additionally, use clamps to hold pieces in place while cutting or drilling to prevent accidental slips.
FAQs
How long does it take to build a chair?
Ans: Building a chair can take anywhere from a few hours to a few days, depending on the complexity of the design and your experience level.
Do I need advanced woodworking skills to make a Kadar?
Ans: No, a basic Kadar can be made with beginner-level skills. However, more intricate designs may require advanced woodworking techniques.
Can I make a Kadar without using power tools?
Ans: While power tools can make the process faster, you can still make a Kedar using hand tools if you’re patient and meticulous.
Conclusion
Making your own chair is a fulfilling and creative project that allows you to personalize your furniture. By following the steps outlined in this guide, you can build a chair that is both functional and aesthetically pleasing. From selecting the right materials to adding the final touches, each step brings you closer to completing your DIY masterpiece. Whether you’re a beginner or an experienced woodworker, the process of creating a Kadar from scratch is sure to provide a sense of pride and accomplishment.